
Cabinet painting can transform your kitchen without the hefty price tag of a full renovation. However, the difference between a professional-looking finish and a disappointing DIY disaster often comes down to one crucial step: preparation. Proper cabinet prep work sets the foundation for a durable, smooth finish that will look stunning for years to come.
Whether you're tackling this project yourself or working alongside professional cabinet painters, understanding the preparation process helps ensure exceptional results. The time invested in thorough prep work pays dividends in the final appearance and longevity of your painted cabinets.
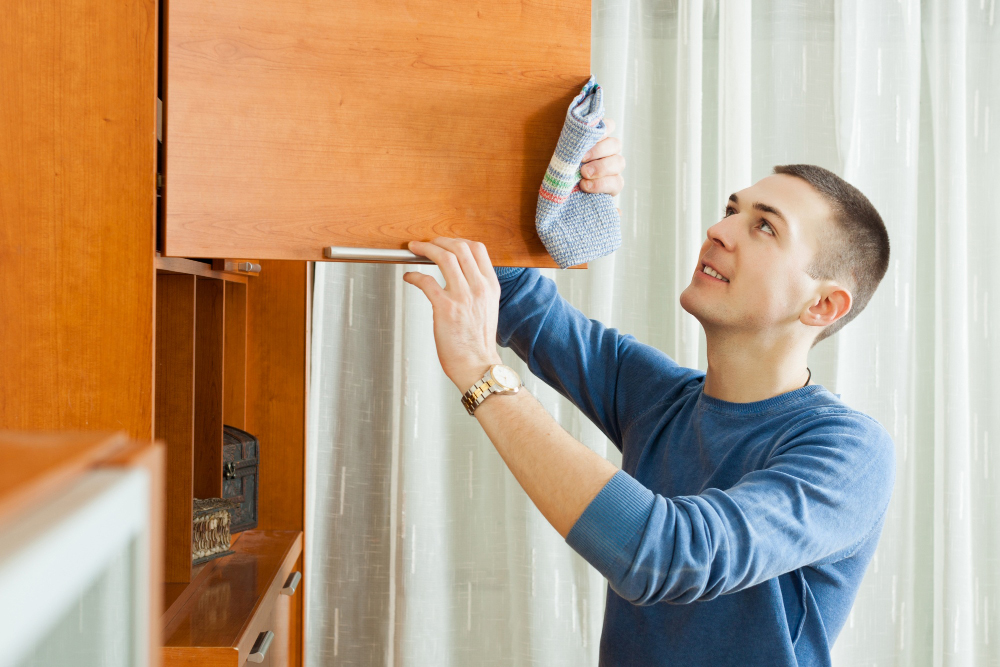
Remove All Hardware and Cabinet Doors
Start by removing cabinet doors, drawers, and all hardware including hinges, handles, and knobs. Use a drill with the appropriate bit to speed up the process, but be careful not to strip the screws. Place all hardware in labeled bags so you can easily reassemble everything later.
Take photos of your cabinets before disassembly to remember the exact placement of doors and drawers. Number each door and its corresponding cabinet opening with removable painter's tape to avoid confusion during reinstallation.
Remove the drawers completely and take out any drawer slides if you plan to paint the interior. This gives you full access to clean and paint all surfaces properly.
Clean Thoroughly to Remove Grease and Grime
Kitchen cabinets accumulate years of cooking grease, food splatters, and general household grime. This buildup must be completely removed before painting, or the new finish won't adhere properly.
Create a cleaning solution using warm water and a degreasing dish soap, or use a specialized kitchen degreaser. Pay special attention to areas around the stove and sink, where grease buildup is typically heaviest. Use a scrub brush for textured surfaces and clean rags for smooth areas.
For stubborn grease stains, mix baking soda with a small amount of water to create a paste. Apply this paste to problem areas, let it sit for 10 minutes, then scrub gently with a soft brush. Rinse thoroughly with clean water and allow everything to dry completely before moving to the next step.
Sand All Surfaces for Better Adhesion
Sanding serves two purposes: it removes any remaining finish or clear coat, and it creates a slightly rough surface that helps the new paint adhere better. Use 150-grit sandpaper for the initial sanding, followed by 220-grit for a smooth finish.
Focus on areas where the existing finish is glossy or where you notice drips or imperfections. You don't need to sand down to bare wood, but you should scuff up all surfaces that will receive paint. Sand in the direction of the wood grain to avoid cross-grain scratches that will show through the paint.
Don't forget to sand the cabinet frames, including the inside edges where doors will sit. These areas are often overlooked but are highly visible when the project is complete.
Fill Holes and Repair Damage
Examine all surfaces for dents, scratches, holes, or other imperfections. Use wood filler to fill any holes left by old hardware, especially if you're changing to different handles or knobs with different mounting patterns.
Apply wood filler with a putty knife, slightly overfilling each hole or dent. Allow the filler to dry completely according to the manufacturer's instructions, then sand smooth with 220-grit sandpaper. The goal is to create a perfectly smooth surface that will disappear under the paint.
For larger repairs or damaged areas, consider using a wood hardener first to strengthen the surrounding wood before applying filler.
Prime for Professional Results
Priming is essential for achieving a professional finish, especially when painting over existing finishes or working with different wood types. Choose a high-quality bonding primer specifically designed for cabinets and trim work.
Apply primer with a high-quality brush or foam roller, working in thin, even coats. Pay attention to brush strokes and try to maintain a consistent direction. Allow the primer to dry completely between coats – rushing this step will compromise the entire project.
Most cabinet painting projects benefit from two coats of primer, especially when covering dark colors or working with porous wood surfaces. The second coat ensures complete coverage and provides the best base for your finish paint.
Set Up Your Workspace
Create a proper workspace that allows you to paint efficiently while maintaining quality. Set up sawhorses and plywood to create painting stations for doors and drawers. This setup keeps your work pieces at a comfortable working height and allows air circulation around all surfaces.
Cover your work area with plastic sheeting or cardboard to protect floors and make cleanup easier. Ensure adequate ventilation and lighting – you need to see what you're doing clearly to achieve professional results.
Organize your tools and materials within easy reach. Having everything readily available helps maintain your workflow and prevents you from having to search for supplies while paint is drying or becoming tacky.
Choose the Right Paint and Application Method
Select high-quality paint specifically formulated for cabinets and trim. These paints are designed to provide durability and a smooth finish that can withstand daily use. Avoid using standard wall paint, which won't hold up to the wear and tear that cabinets endure.
Consider your application method carefully. While brushing can work, many professionals prefer using a paint sprayer for the smoothest possible finish. If you don't have access to a sprayer, high-quality foam rollers can also produce excellent results with the right technique.
Apply paint in thin, even coats rather than trying to achieve full coverage in one thick application. Multiple thin coats provide better durability and a more professional appearance than fewer thick coats.
When to Call Professional Cabinet Painters
While DIY cabinet painting can be rewarding, some situations call for professional expertise. Complex cabinet designs, intricate molding, or valuable custom cabinetry often benefit from professional treatment. Additionally, if you lack the time, tools, or experience for proper preparation, hiring professionals can actually save money in the long run.
Professional cabinet painters bring specialized tools, high-quality materials, and years of experience to ensure exceptional results. They understand how different wood types and existing finishes behave, and they can troubleshoot problems before they become costly mistakes.
Transform Your Kitchen Today
Proper cabinet preparation is the foundation of any successful painting project. While the process requires patience and attention to detail, the results are worth the effort. A well-prepped and properly painted cabinet can look as good as expensive custom work while costing a fraction of the price.
Take your time with each preparation step, and don't rush the process. Remember that corners cut during prep work will be visible in the final result. With careful preparation and quality materials, your painted cabinets will provide years of beautiful, durable service.
If you're looking for cabinet painters in Apopka, FL, contact Rusty's Painting today to request an estimate. Our experienced team can help transform your kitchen with professional-quality results that will exceed your expectations.