
A fresh coat of paint can completely transform a room, but a truly professional finish starts long before you pick up a brush. Skipping the prep work is a common mistake that leads to imperfections like bumps, cracks, and peeling paint down the line. Proper preparation is the foundation of a durable, flawless paint job that will look great for years.
Many homeowners are tempted to jump straight to painting, especially when they're excited about a new color. However, taking the time to properly prepare your walls is the secret to achieving that smooth, even look you see in design magazines. This guide will walk you through the essential steps, from cleaning to priming, ensuring your next painting project is a stunning success. We'll share tips that professional interior painters in Apopka, FL, use to guarantee a perfect result every time.
1. Clear and Protect the Room
Before you do anything to the walls, you need to prepare the space. This step prevents paint splatters and dust from damaging your furniture and floors.
Start by removing all furniture from the room. If you don't have enough space to move everything out, push all the furniture to the center of the room and cover it completely with plastic sheeting or old blankets. Next, take down any wall hangings, such as photos, art, and shelves. Don't forget to remove outlet covers and switch plates; use painter's tape to secure the screws to the back of each plate so you don't lose them.
Finally, protect your floors. Lay down canvas or cloth drop cloths to cover the entire floor. While plastic sheets can work, cloth drop cloths are less slippery and absorb spills better, making them a safer choice for both you and your flooring.
2. Clean the Walls Thoroughly
Over time, walls accumulate dust, grime, and oils that can prevent paint from adhering properly. Cleaning your walls is a critical step that ensures a strong bond between the new paint and the surface.
For most rooms, a simple solution of mild soap and warm water is sufficient. Use a soft sponge or cloth to gently wipe down the walls, working from top to bottom. Pay special attention to high-traffic areas and spots near doorways or light switches where fingerprints are common.
In kitchens and bathrooms, you might need a stronger cleaning solution to cut through grease or soap scum. A mixture of one part vinegar to three parts water can be effective. After washing, rinse the walls with a separate sponge and clean water to remove any soap residue, then let them dry completely before moving on to the next step.
3. Scrape Away Old, Flaking Paint
You cannot achieve a smooth finish by painting over old, peeling paint. Any loose or cracked paint needs to be removed to create a stable surface for the new coat.
Use a putty knife or a paint scraper to gently remove any areas where the paint is bubbling, flaking, or cracking. Be careful not to gouge the wall underneath. The goal is to create a solid, uniform surface. After scraping, you may need to lightly sand the edges of the scraped areas to blend them with the rest of the wall. This process, known as "feathering," helps prevent the patched areas from showing through the new paint.
4. Fill Holes and Repair Cracks
Even the most well-maintained walls have minor imperfections like nail holes, dents, or small cracks. Filling these blemishes is essential for a seamless finish.
For small nail holes and minor scratches, use a lightweight spackling compound. Apply a small amount of spackle over the hole with a flexible putty knife, pressing firmly to fill the imperfection completely. For larger holes or cracks, a stronger filler or joint compound might be necessary. You may need to apply it in a few thin layers, allowing each layer to dry before adding the next.
Once the spackle is completely dry (check the product's instructions for drying times), sand the patched area with fine-grit sandpaper until it is perfectly smooth and flush with the wall. Wipe away any dust with a damp cloth.
5. Sand for a Smooth Surface
Sanding is what separates a good paint job from a great one. It helps to smooth out any patched areas and rough spots, creating an ideal texture for paint adhesion.
Using a fine-grit sandpaper (120 to 150-grit is usually a good choice), lightly sand the entire surface of the walls. Pay extra attention to any repaired areas and the feathered edges from scraping old paint. The goal is not to remove the existing paint, but to "scuff" the surface slightly, which helps the new primer and paint stick better. For larger areas, a pole sander can make the job quicker and less strenuous. Always wear a dust mask and safety glasses during this step to protect yourself from airborne particles.
6. Tape the Trim
Using painter's tape is the key to getting those clean, sharp lines that scream "professional." This step protects your trim, baseboards, windows, and door frames from errant paint drips and brush strokes.
Apply high-quality painter's tape along the edges of all woodwork and molding. Press the tape down firmly with a putty knife or your fingernail to create a tight seal. This prevents paint from seeping underneath the tape. Taking your time with this step will save you a lot of cleanup and touch-up work later.
7. Apply a Coat of Primer
Priming is a non-negotiable step, especially if you are making a drastic color change, painting over new drywall, or have walls with stains. Primer serves several important functions: it blocks stains, ensures even color coverage, and improves the adhesion and durability of your topcoat.
Choose a primer that is appropriate for your wall's condition and the type of paint you plan to use. For example, a stain-blocking primer is ideal for covering water spots or smoke damage. If you're painting over a dark color with a lighter one, a tinted primer can help you achieve your desired shade with fewer coats of paint.
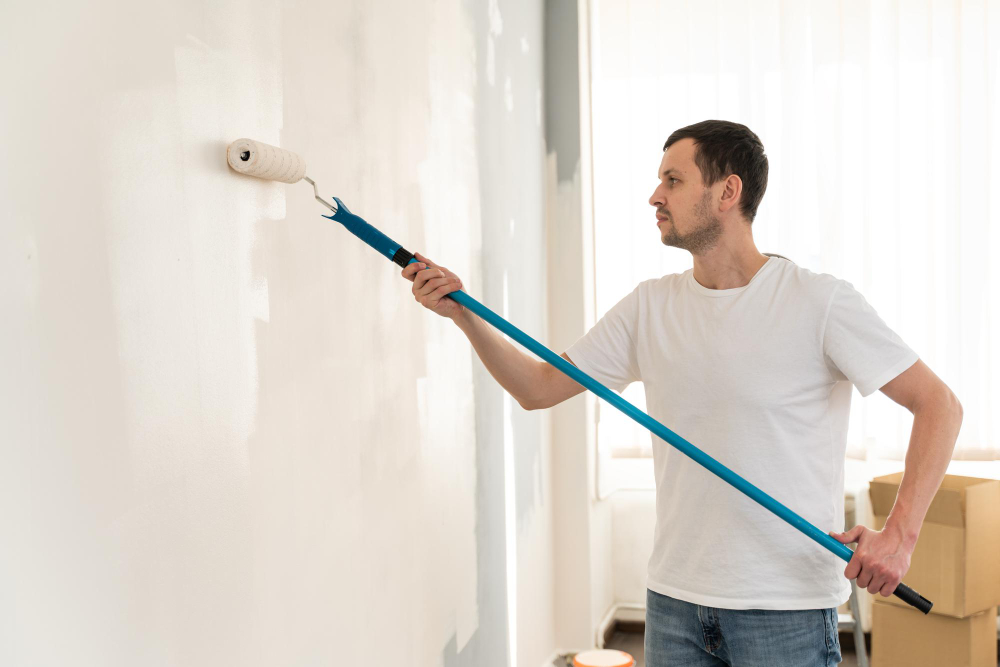
Apply the primer evenly with a roller, using a brush for the corners and edges. Let the primer dry completely according to the manufacturer's instructions before you begin painting.
Ready for a Flawless Finish?
Taking these steps to prepare your walls may seem tedious, but they are the bedrock of a beautiful, long-lasting interior paint job. By cleaning, patching, sanding, and priming, you create the perfect canvas for your new color to shine.
If the preparation process sounds like more than you want to handle, or if you simply want to ensure the job is done perfectly, hiring a professional is always a great option. If you're looking for expert interior painters in Apopka, FL, the team at Rusty's Painting has the skills and experience to transform your home.
Contact Rusty's Painting today to request a free estimate and let us handle the hard work for you.